
Easy Guide: How to Measure a Kitchen Sink
Welcome to our helpful guide on how to measure a kitchen sink. Whether you’re planning a kitchen upgrade or replacing your existing sink, accurate measurements are essential to ensure a perfect fit. By following our step-by-step instructions, you’ll be able to determine the dimensions needed for a seamless installation process.
Key Takeaways:
- Accurate measurements are crucial for a perfect fit during a kitchen upgrade or sink replacement.
- Be prepared with the necessary tools before measuring your kitchen sink.
- Follow a detailed step-by-step guide to measure the length, width, and depth of your sink.
- Consider additional measurements, such as faucet hole size and extra accessories, for a complete fit.
- Record and double-check your measurements to ensure accuracy when purchasing a new kitchen sink.
Why Measuring Your Kitchen Sink is Important
Before diving into the measuring process, it’s essential to understand why accurately measuring your kitchen sink is crucial. Proper measurements ensure the optimal fit, functionality, and compatibility of your new kitchen sink. From choosing the right size to avoiding installation issues, precise measurements are key to a successful kitchen upgrade.
Accurate kitchen sink measurements allow you to:
- Ensure the sink fits perfectly within the available space
- Prevent costly mistakes and avoid unnecessary returns or replacements
- Ensure compatibility with existing plumbing and countertop cutouts
- Create a seamless and aesthetically pleasing look in your kitchen
Measuring your kitchen sink may seem daunting at first, but with the right tips and best practices, you can confidently measure for a perfect fit. Let’s explore some expert advice on measuring your kitchen sink size.
Kitchen Sink Size Measurement Tips
To ensure accurate measurements, consider the following tips:
- Use a measuring tape: A flexible measuring tape is essential for accurate length, width, and depth measurements. Avoid using rulers or yardsticks, as they may not provide accurate measurements.
- Measure twice: Double-checking your measurements is crucial to minimize errors. Measure multiple times to ensure consistency and accuracy.
- Consider the mounting type: Depending on the mounting type (top mount, undermount, or farmhouse), the size and measurement techniques may vary. Make sure to take into account the specific requirements for your chosen sink style.
- Measure the interior dimensions: When measuring for a replacement sink, focus on the interior dimensions rather than the outer dimensions to ensure a proper fit.
- Account for the faucet and accessories: If you already have a faucet or other accessories, measure their dimensions too. This will help you determine the best sink size that accommodates your existing fixtures.
By following these kitchen sink size measurement tips, you’ll be well-prepared to measure your kitchen sink accurately. This will ultimately save you time, money, and frustration during the installation process. Let’s move on to the next section to learn about the best practices for measuring a kitchen sink.
| Best Practices for Measuring a Kitchen Sink |
|---|
|
Tools Needed to Measure a Kitchen Sink
Before you can accurately measure your kitchen sink, it’s important to have the right tools on hand. Here is a list of essential tools you’ll need to ensure a successful measurement process:
- Tape Measure: A reliable tape measure is essential for accurate length, width, and depth measurements. Make sure it has both imperial and metric units to cater to your preference.
- Pencil or Pen: You’ll need a writing instrument to mark your measurements on paper or directly on your existing sink.
- Notepad or Paper: Have a notepad or any piece of paper available to record your measurements and avoid confusion.
- Level: A level is useful for ensuring that your sink installation is perfectly aligned on a level surface.
- Flashlight: In case your kitchen sink is located in a poorly lit area, having a flashlight handy will help you see the measurements clearly.
- Camera or Smartphone: Taking a picture of your kitchen sink can serve as a visual reference for your measurements and assist you in finding the ideal replacement.
By gathering these tools before you start measuring, you’ll save time and ensure accuracy throughout the process. Now that you’re equipped, let’s move on to the step-by-step guide for measuring your kitchen sink dimensions.
Step-by-Step Guide for Measuring Kitchen Sink Dimensions
Accurately measuring your kitchen sink is essential to ensure a perfect fit for your kitchen upgrade or replacement. Follow these step-by-step instructions to measure your kitchen sink dimensions accurately and with ease.
- Remove any items or debris from your kitchen sink. Clear out your sink and ensure it is empty before proceeding with the measurement process.
- Prepare the necessary tools. Gather a measuring tape, a notepad or smartphone to record measurements, and a pen or pencil.
- Measure the length and width. Start by measuring the length of your sink from one end to the other, including any flanges or overhangs. Record this measurement. Then, measure the width of your sink from side to side, including any flanges or overhangs. Record this measurement as well.
- Measure the depth. Use your measuring tape to determine the depth of your sink from the top rim to the bottom. Record this measurement.
- Note any additional features. If your kitchen sink has extra features, such as faucet holes, soap dispenser holes, or built-in accessories, measure their dimensions as well.
- Double-check your measurements. Ensure all the recorded measurements are accurate by reviewing and comparing them. This step helps eliminate any potential errors or inconsistencies.
By following these steps, you can confidently measure your kitchen sink dimensions for a seamless upgrade or replacement process. Remember, precision is key to finding the perfect fit for your kitchen space.
Sample Kitchen Sink Measurement Table
| Measurement | Dimension |
|---|---|
| Length | 40 inches |
| Width | 20 inches |
| Depth | 8.5 inches |
| Faucet Hole Size | 1.5 inches |
Expert Tip: Taking Accurate Measurements with Precision
“When measuring the length and width of your kitchen sink, ensure that the measuring tape is taut and straight for accurate results. For the depth measurement, hold the measuring tape vertically and align it with the top rim and bottom of the sink. Taking measurements with precision is crucial to finding the perfect kitchen sink that meets your needs.”
With the kitchen sink measurements in hand, you can now confidently select a new sink that fits perfectly within your kitchen space.
Measuring the Length and Width of Your Kitchen Sink
Accurately measuring the length and width of your kitchen sink is essential to ensure a perfect fit in your kitchen space. Follow these step-by-step instructions to obtain precise measurements and find a sink that suits your needs.
- Clear out any dishes or objects from your sink to have a clear working space.
- Place one end of your measuring tape against the left edge of the sink, near the back wall.
- Extend the tape measure across the sink, following the contour of the sink’s interior. Make sure to keep the tape measure flat and avoid any bends or kinks that may affect the accuracy of your measurements.
- Note down the measurement at the other end of the sink. This will give you the length of your kitchen sink.
- Repeat the process for measuring the width of your sink. Place one end of the tape measure against the back wall, near the edge of the sink, and extend it across the sink to the opposite edge.
- Record the measurement at the end of the tape measure, which will give you the width of your kitchen sink.
Remember to measure both the length and width of your sink in inches or centimeters, depending on your preference. Take accurate measurements to ensure a seamless fit when selecting a new kitchen sink.

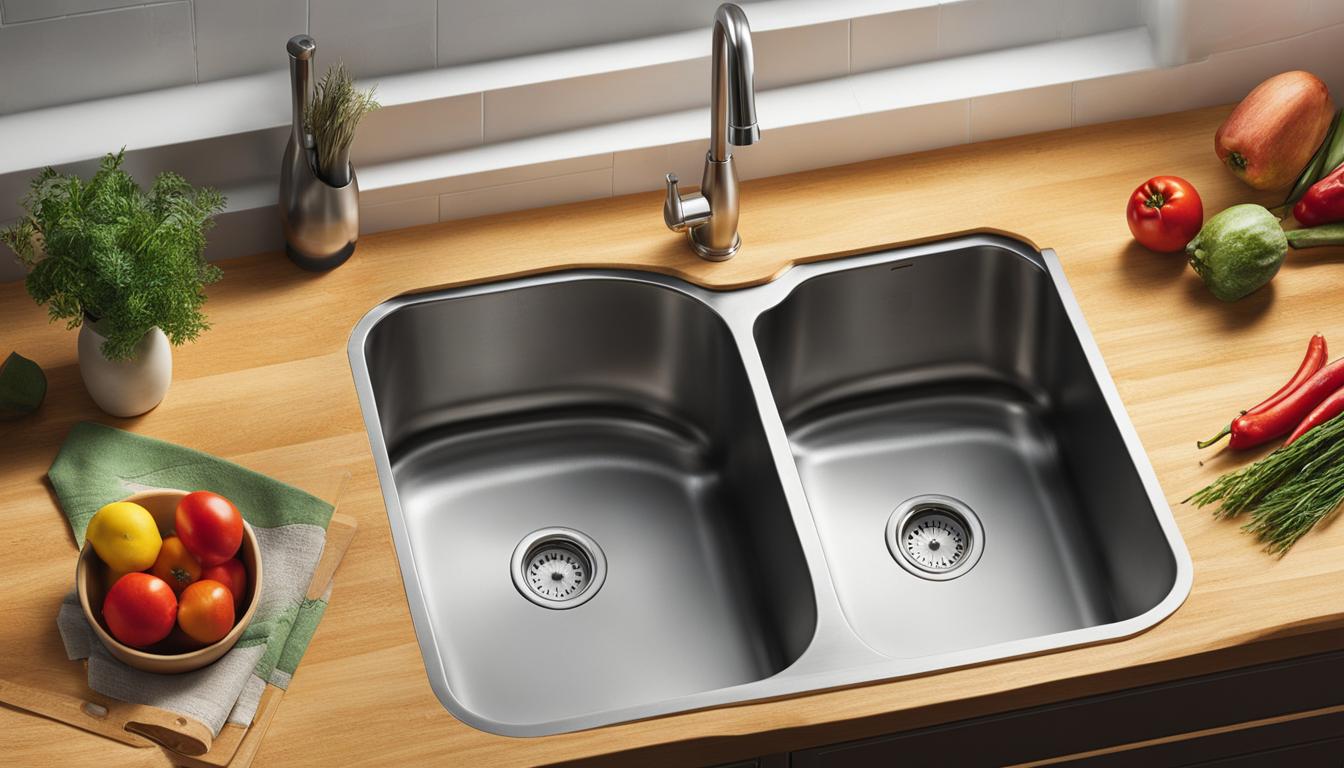
Refer to the image above for a visual representation of how to measure the length and width of your kitchen sink.
By obtaining these measurements, you will be equipped with the necessary information to find a kitchen sink that perfectly fits your space. In the next section, we will explore how to measure the depth of your kitchen sink to complete your measurement process.
Measuring the Depth of Your Kitchen Sink
When it comes to measuring your kitchen sink, the depth is just as important as the length and width. By accurately measuring the sink’s depth, you ensure optimal functionality and avoid potential issues during installation. Follow these kitchen sink measurement techniques to get the perfect depth measurement for your sink:
- Clear out your sink: Start by removing any dishes, utensils, or other items from your sink. This will provide a clear and unobstructed view of the sink’s interior.
- Place the measuring tape: Position one end of a measuring tape at the bottom center of the sink. Make sure it rests flat against the surface.
- Extend the tape to the rim: Extend the measuring tape vertically until it reaches the top rim of the sink. Be careful not to bend or slant the tape while measuring.
- Read the measurement: Take note of the measurement where the tape intersects the sink’s rim. This measurement represents the depth of your kitchen sink.
Remember to repeat the process multiple times to ensure accuracy. If there are any variations, take the average of the measurements.
Keep in mind that the depth measurement will determine the capacity of your sink and the amount of space it provides for washing dishes and other kitchen tasks. Therefore, it’s essential to measure the depth accurately to ensure a comfortable and functional sink.
To help you visualize the measuring process, refer to the image below:

“Accurately measuring the depth of your kitchen sink ensures optimal functionality and a comfortable space for all your kitchen tasks.”
By following these kitchen sink measurement techniques, you can confidently determine the depth of your sink and find a perfect fit for your kitchen upgrade or replacement. The next section will cover additional measurements to consider to ensure a complete fit for your new kitchen sink.
Additional Measurements for a Complete Fit
In addition to the length, width, and depth of your kitchen sink, there are a few more measurements to consider for a complete fit. Taking these additional measurements into account will ensure that your new kitchen sink is compatible with your existing setup. Here are some essential kitchen sink size measurement tips to keep in mind:
Faucet Hole Size
One important measurement to consider is the faucet hole size. This measurement determines the diameter and spacing of the holes needed for the faucet installation. Ensure that you measure the diameter of the existing faucet holes accurately to ensure a proper fit for your new sink.
Extra Accessories
If you plan to incorporate any additional accessories into your kitchen sink setup, such as a soap dispenser or garbage disposal, consider the space requirements for these items. Measure the dimensions and placement of these accessories to ensure they fit seamlessly with your new sink.
By taking these additional measurements into account, you can avoid any surprises during the installation process and ensure a smooth transition to your new kitchen sink. Remember to record all measurements accurately to help you choose the right sink and accessories for your kitchen upgrade.
Additional Measurements for a Complete Fit
| Measurement | Description |
|---|---|
| Faucet Hole Size | Diameter and spacing of faucet installation holes |
| Extra Accessories | Measurements and placement of additional accessories |
Recording and Confirming Your Measurements
Once you have carefully measured all the necessary dimensions of your kitchen sink, it is important to record and confirm your measurements to ensure accuracy. By following these steps, you can confidently proceed with purchasing your new kitchen sink, knowing that it will fit perfectly into your space.
Here is a simple guide on how to record and confirm your measurements:
- Write down your measurements: Using a pen and paper or a note-taking app, record the length, width, and depth of your kitchen sink. Make sure to write down each measurement clearly and label them accordingly. This will help you keep track of your measurements and prevent any confusion during the purchasing process.
- Double-check your measurements: It is crucial to double-check your recorded measurements to ensure their accuracy. Go back to your sink and verify each measurement using a measuring tape or ruler. Pay close attention to any fractional or decimal measurements, as precision is key for a proper fit.
- Compare and review: Once you have confirmed your measurements, take a moment to review them and compare them to the specifications provided by the sink manufacturer or retailer. This will help you determine if your measurements align with the available sink options and narrow down your choices.
- Seek professional advice if necessary: If you’re unsure about any aspect of your measurements or are having difficulty finding a sink that fits your specific requirements, don’t hesitate to reach out to a professional. A knowledgeable contractor or kitchen designer can provide expert guidance and ensure you make an informed decision.
Remember, accurate measurements are essential for a successful kitchen sink installation. Taking the time to record and confirm your measurements will save you time, money, and potential headaches down the line. Now that you have your measurements on hand, you can confidently move forward with selecting the perfect kitchen sink for your home.
Conclusion
Accurately measuring your kitchen sink is essential for a successful kitchen upgrade or replacement. By following our comprehensive guide on how to measure a kitchen sink, you will have the confidence to find a sink that fits perfectly into your space. Remember to record and double-check your measurements before making a final purchase decision.
Measuring your kitchen sink dimensions can ensure optimal functionality, compatibility, and a seamless installation process. By taking the time to measure the length, width, and depth of your sink, as well as considering additional measurements such as faucet hole size and accessories, you can avoid any potential issues and create the kitchen of your dreams.
With the right tools and our step-by-step instructions, you can easily measure your kitchen sink like a pro. Whether you’re upgrading an existing sink or installing a brand new one, accurate measurements will guarantee a perfect fit. Don’t leave anything to chance – follow our guide and enjoy a hassle-free kitchen renovation experience.