Revitalize Your Space: How to Paint a Kitchen Table
Welcome to our guide on how to paint a kitchen table and give your space a much-needed makeover. If you’re looking to freshen up your dining area and add a personal touch, painting your kitchen table is the perfect DIY project. Not only does it allow you to express your creativity, but it also gives you the opportunity to transform a functional piece of furniture into a stunning focal point.
In this article, we will take you through the step-by-step process of painting a kitchen table, from gathering the necessary materials to adding the finishing touches. Whether you’re a seasoned DIY enthusiast or a beginner, this guide will provide you with all the information you need to successfully complete your kitchen table makeover.
Key Takeaways:
- Painting your kitchen table is a great way to revitalize your space and add a personal touch.
- Gather all the necessary materials before starting your kitchen table painting project.
- Properly prepare the table surface by cleaning, sanding, and priming it for optimal adhesion.
- Choose paint colors that complement your decor and consider adding decorative elements for a unique look.
- Apply a base coat followed by a top coat to ensure a durable and long-lasting finish.
Gather Your Materials
Before you embark on your DIY kitchen table makeover, it’s important to gather all the necessary materials to ensure a successful and satisfying painting project. Here are the key tools and supplies you’ll need:
Tools
- Paintbrushes: Choose brushes of different sizes to accommodate various painting techniques and areas of the table.
- Sandpaper: Use fine-grit sandpaper to smooth the surface of the table before painting.
- Tack cloth: This sticky cloth is perfect for removing any dust or debris from the table surface to ensure a clean painting canvas.
- Painter’s tape: Protect areas that you don’t want to paint by using painter’s tape to create clean lines and edges.
- Paint tray: A paint tray or disposable plate can be used to pour and mix paint.
Supplies
- Primer: Apply a suitable primer to create a smooth surface and improve paint adhesion. Select a primer that is compatible with your chosen paint type.
- Paint: Choose a paint specifically formulated for furniture or cabinets. Consider factors such as durability, finish (matte, satin, or glossy), and color availability to achieve your desired look.
- Drop cloth: Protect your work area from paint spills and splatters by using a drop cloth or plastic sheeting.
- Cleaners: Use mild soap or a cleaner specifically designed for removing grease and residue from kitchen surfaces.
When selecting your paint color, take into account the overall aesthetic of your kitchen and the desired atmosphere you wish to create. Consider whether you want a bold, vibrant look or a more subtle and neutral palette.
Remember: Ensure good ventilation in your workspace and follow all safety precautions outlined on the paint and primer containers.
“A well-prepared painting project begins with gathering all the necessary tools and supplies.”
| Tools | Supplies |
|---|---|
| Paintbrushes | Primer |
| Sandpaper | Paint |
| Tack cloth | Drop cloth |
| Painter’s tape | Cleaners |
| Paint tray |
Prepare the Table Surface
Before you begin painting your kitchen table, it’s crucial to prepare the table surface properly. This step is essential for achieving a smooth and long-lasting paint finish that will enhance the overall look of your table. Follow these furniture restoration tips to ensure optimal adhesion and durability:
1. Clean the Table
Start by thoroughly cleaning the table surface to remove any dirt, grease, or dust. Use a mild detergent and warm water to wipe down the entire table, paying special attention to any stubborn stains. Rinse the table with clean water and allow it to dry completely before proceeding.
2. Sand the Surface
Next, you’ll need to sand the table surface to create a smooth and slightly rough texture. This will help the paint adhere better to the wood or existing finish. Start with a medium-grit sandpaper and sand the table in the direction of the grain. Be sure to smooth out any imperfections or rough spots.
3. Remove the Dust
After sanding, use a clean cloth or tack cloth to remove any dust or debris from the table surface. This step is crucial for achieving a flawless paint finish.
4. Apply Primer
To ensure better paint adhesion and prevent any potential bleed-through, it’s recommended to apply a primer to the table surface. Choose a primer specifically designed for the type of paint you’ll be using. Apply the primer evenly using a brush or roller, following the manufacturer’s instructions. Allow the primer to dry completely before moving on to the next step.
By following these furniture refinishing ideas and furniture restoration tips, you’ll be one step closer to achieving a beautifully painted kitchen table. The preparation process is essential for creating a clean canvas for your paint and ensuring a long-lasting, professional-looking finish.
Choose Your Paint Colors
When it comes to painting your kitchen table, the color options are endless. This is your chance to get creative and add a personal touch to your space. Whether you want to make a bold statement or create a subtle, elegant look, choosing the right paint colors is key. Here are some ideas to inspire you:
Incorporate a Pop of Color
Adding a pop of color to your kitchen table can instantly brighten up the space and make it more visually appealing. Consider opting for vibrant shades like teal, coral, or lemon yellow. These bold colors will add a playful and lively vibe to your dining area.
Create a Two-Tone Effect
For a more sophisticated and modern look, try using two different paint colors to create a two-tone effect on your kitchen table. You can paint the tabletop in one color and the legs or base in a complementary or contrasting shade. This technique adds depth and dimension to your table and gives it a stylish, customized appearance.
Go for a Distressed Look
If you prefer a rustic or shabby chic style, consider distressing your kitchen table. To achieve this look, paint your table in a neutral color like white or cream. Once the paint has dried, lightly sand the edges and corners to expose the wood underneath. This will give your table a weathered and vintage feel.
Experiment with Patterns
Patterns can be a fun and artistic way to transform your kitchen table. You can use stencils to create geometric designs, floral patterns, or even whimsical motifs. If you’re feeling especially adventurous, you can freehand paint abstract or artistic patterns directly onto the table. This allows you to express your creativity and make your table a true one-of-a-kind piece.
No matter which paint colors you choose, make sure to select high-quality paint that is durable and suitable for furniture. Now that you have some creative ideas for your kitchen table, it’s time to bring them to life!

Apply the Base Coat
The base coat is a crucial step in painting your kitchen table. It provides a solid foundation for the desired paint finish and ensures a smooth and even surface. Follow this step-by-step table painting tutorial to achieve professional-looking results.
Gather Your Materials
Before applying the base coat, gather the following materials:
- Primer
- Paintbrush or foam roller
- Drop cloth or newspaper
- Sandpaper or sanding block
- Tack cloth or lint-free cloth
Make sure you have a clean and well-ventilated workspace before you begin. Protect the surrounding area by covering it with a drop cloth or newspaper.
Prepare the Table Surface
“Proper preparation is key to achieving a flawless base coat.”
Start by cleaning the table surface thoroughly to remove any dirt, grease, or old finish. Use warm soapy water and a sponge or cloth to scrub the table. Rinse it with clean water and allow it to dry completely.
Next, sand the table surface lightly to create a smooth and rough surface for better paint adhesion. Use a sanding block or sandpaper with a fine grit, and sand along the grain of the wood. After sanding, wipe away any dust with a tack cloth or lint-free cloth.
Once the table surface is clean and properly sanded, apply a coat of primer. Use a paintbrush or foam roller to apply the primer evenly. Make sure to cover the entire surface, including the edges. Allow the primer to dry completely according to the manufacturer’s instructions.
Apply the Base Coat
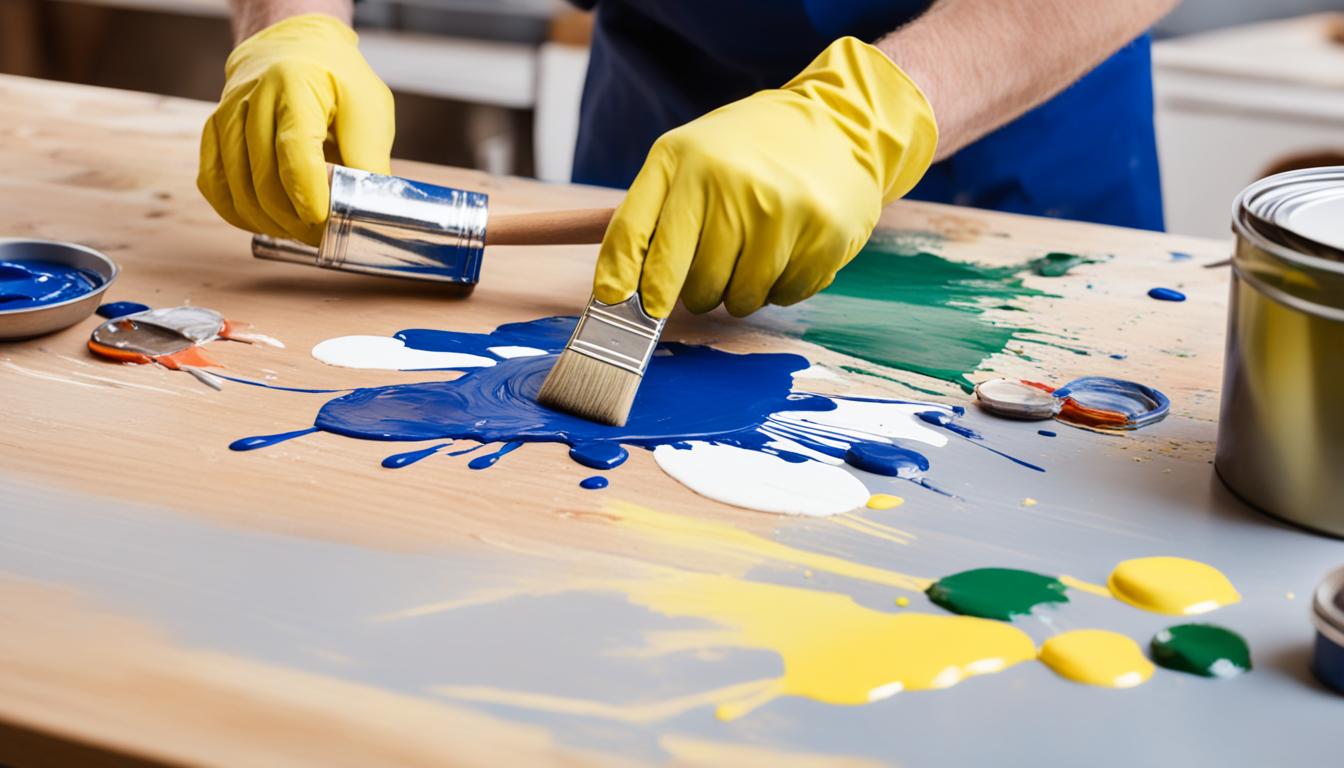
Now it’s time to apply the base coat. Choose your desired paint color and pour it into a paint tray. Use a paintbrush or foam roller to apply the base coat evenly to the table surface. Start from one end and work your way to the other, using long and smooth strokes.
Ensure that the base coat is applied evenly and covers the entire surface. Apply additional coats if needed, allowing each layer to dry thoroughly before applying the next. This will help achieve a more opaque and durable finish.
Note: Follow the paint manufacturer’s guidelines for recommended drying times between coats.
Once you have achieved the desired look and coverage, allow the base coat to dry completely before moving on to the next steps of your kitchen table painting project.
| Base Coat Application Tips |
|---|
| Work in a well-ventilated area to ensure proper air circulation and faster drying times. |
| Use long, continuous strokes to avoid visible brush or roller marks. |
| Avoid applying a thick coat of paint, as it may result in drips and prolonged drying times. |
| Apply multiple thin coats for better coverage and a smoother finish. |
Add Decorative Elements
To enhance the visual appeal of your painted kitchen table, there are various decorative elements you can incorporate. These creative paint ideas for tables will add personality and charm to your dining area. Whether you prefer a subtle design or a bold statement, there are techniques such as stenciling, distressing, or creating patterns that can elevate the look of your table.
“A little creativity goes a long way in transforming an ordinary table into a unique masterpiece.”
Stenciling
Stenciling is a popular technique that allows you to add intricate designs and patterns to your painted kitchen table. You can find a wide range of stencils in craft stores or even create your own custom designs. Simply secure the stencil onto the table and use a stencil brush or sponge to carefully apply paint within the cut-out areas. Remove the stencil, and you’ll have a beautifully stenciled pattern on your table.
Distressing
If you prefer a rustic or vintage look, distressing is a great option. This technique involves intentionally creating an aged effect on your table by sanding down certain areas to reveal the wood underneath. You can selectively distress the edges, corners, and other natural wear spots to give your table a charming, well-loved appearance.
Creating Patterns
Creating patterns on your painted kitchen table adds an artistic touch to the overall design. You can use painter’s tape to create geometric shapes or stripes and then paint over it. Once the paint has dried, carefully remove the tape to reveal the crisp lines. This technique allows you to play with different colors and patterns, making your table truly unique.

Apply the Top Coat
After completing the base coat, it’s time to give your painted kitchen table the ultimate protection with a top coat. The top coat serves as a barrier against everyday wear and tear, ensuring the longevity of your beautifully finished table.
When selecting a top coat, it’s essential to choose a product specifically designed for furniture painting. Look for a durable, water-based polyurethane or a clear acrylic sealant that provides UV protection and resistance to stains and scratches.
Follow these steps to apply the top coat to your painted kitchen table:
- Prepare the surface: Ensure that the base coat is fully dry before proceeding with the top coat application. Lightly sand the surface with fine-grit sandpaper and remove any dust or debris.
- Apply the first coat: Using a high-quality synthetic brush or a foam roller, apply a thin and even layer of the top coat. Work in long, smooth strokes, following the grain of the wood. Avoid overbrushing to minimize the risk of brush marks or bubbles.
- Allow drying time: Follow the manufacturer’s instructions for drying time. Typically, the first coat will require several hours to dry completely.
- Sand for smoothness: After the first coat is dry, lightly sand the surface with fine-grit sandpaper to create a smoother finish. Wipe away any dust before applying the second coat.
- Apply additional coats: Repeat the process of applying thin, even coats of the top coat, allowing sufficient drying time between each coat. Depending on the product and desired durability, two to three coats are generally recommended.
- Final sanding: Once the final coat is dry, lightly sand the surface again for an ultra-smooth finish. Remove any dust or particles before finishing the process.
By applying the top coat according to these steps, you’ll ensure that your painted kitchen table stays protected and beautiful for years to come. The top coat not only adds a layer of durability but also enhances the overall appearance, bringing out the richness and depth of the colors you’ve chosen.
| Product | Type | Drying Time | Level of Protection |
|---|---|---|---|
| Varathane Triple Thick Polyurethane | Water-based polyurethane | 2 hours (touch dry), 24 hours (fully cured) | Excellent |
| Minwax Polycrylic Protective Finish | Water-based acrylic | 2 hours (touch dry), 24 hours (fully cured) | Good |
| Rust-Oleum Parks Pro Finisher Water-Based Polyurethane | Water-based polyurethane | 2 hours (touch dry), 24 hours (fully cured) | Excellent |
Let the Paint Cure
After completing the painting process, it’s essential to allow the paint on your kitchen table to fully cure before using it. This crucial step will help prevent smudges and scratches, ensuring a beautiful and durable finish. Here are some furniture restoration tips to ensure a proper cure:
- Follow the manufacturer’s instructions:
- Give it enough time:
- Avoid exposing the table to extreme temperatures:
Every paint product has specific curing guidelines provided by the manufacturer. It’s important to read and follow these instructions carefully to achieve the best results.
Paint curing time can vary depending on the type of paint used. As a general rule, it’s recommended to let the paint cure for at least 24-48 hours before placing any objects on the table.
During the curing process, it’s crucial to keep the table in a well-ventilated area with moderate temperatures. Avoid placing it in direct sunlight or subjecting it to extreme heat or cold, as this can affect the paint’s durability.
By allowing adequate curing time, you’ll ensure that the paint on your kitchen table hardens and bonds properly, providing a long-lasting and beautiful finish. Take the necessary precautions and exercise patience, and you’ll be rewarded with a table that looks as good as new.
Now that you understand the importance of letting the paint cure, let’s move on to the final section where we’ll cover the finishing touches to complete your kitchen table makeover.
Finishing Touches
Once your painted kitchen table has cured, it’s time to add the finishing touches to complete your DIY kitchen table makeover. These final steps will help enhance the shine, durability, and overall aesthetic appeal of your revamped table.
Buffing and Polishing
One of the first finishing touches you can apply to your kitchen table is buffing and polishing the surface. This process involves gently rubbing the painted surface using a soft cloth or polishing pad to remove any imperfections and create a smooth, shiny finish. Be sure to use gentle, circular motions and avoid applying too much pressure to prevent damaging the painted surface.
Protective Wax Layer
Adding a protective wax layer is another essential step in completing your kitchen table makeover. This layer of wax provides an extra barrier of protection against scratches, stains, and general wear and tear. Simply apply the wax using a clean cloth, following the manufacturer’s instructions, and allow it to dry completely before using the table.
Tip: When applying the protective wax layer, pay extra attention to high traffic areas such as the edges and corners of the table. These areas are prone to more frequent contact and may require an additional coat of wax for added protection.
By buffing, polishing, and applying a protective wax layer, you can ensure that your newly painted kitchen table not only looks stunning but also maintains its beauty for years to come. These finishing touches will help seal the paint, enhance the overall appearance, and make your table more resistant to daily use and environmental factors.
Take a moment to admire your hard work and enjoy the transformation of your kitchen table. The finishing touches you applied will contribute to a polished and rejuvenated space.
| Finishing Touches | Benefits |
|---|---|
| Buffing and Polishing | Creates a smooth, shiny finish |
| Protective Wax Layer | Provides an extra barrier of protection against scratches, stains, and wear |
Conclusion
In conclusion, painting a kitchen table is a fantastic way to give your dining area a fresh and stylish makeover. Not only is it a fun and creative DIY project, but it also allows you to customize the look of your table to perfectly suit your personal style and home decor. By following the steps outlined in this guide, you can achieve professional-looking results and enjoy a beautifully painted kitchen table for years to come.
Remember, the key to a successful kitchen table makeover lies in proper preparation and using high-quality materials. Take the time to thoroughly clean and sand the table surface, and choose a durable paint that is suitable for furniture. Additionally, don’t be afraid to get creative with your color choices and techniques to make a bold statement with your table.
Once you’ve completed the painting process, allow sufficient time for the paint to cure before using the table. This will ensure that the finish is fully set and resistant to scratches and marks. Finally, don’t forget to add those finishing touches, such as buffing and polishing, to give your painted kitchen table a professional and polished appearance.
So go ahead and take the leap. Grab your paintbrush, unleash your creativity, and transform your kitchen table into a stunning centerpiece that will breathe new life into your space. With the knowledge and skills gained from this guide, you’ll be able to tackle your kitchen table makeover with confidence and achieve remarkable results.